
Log in

Forgot password?

Don't have an account? Register here

Already have an account? Log in

Enter your email address. We will send you a password reset link.

Back to login

Are you sure?

This action cannot be undone.

Your Profile

Hello, Guest!

My Licenses

Order History

Edit Data


Change Password

How to configure automatic file backup on Windows step by step?

Back to Blog

Securing critical folders on your hard drive is one of the most important responsibilities in any company. Even with an ERP system implemented and the SQL database secured, we often forget about folders containing accounting certificates, contract scans, or configuration files.

In this article, I will show you how to configure automatic file backup on Windows step by step using the Files Backup tool, which works completely in the background and does not require complex IT knowledge.

Step 1: Choosing sources and destination

The key to proper configuration is accurately determining what we want to protect and where this data should go. The golden rule of security says that the backup should never reside on the same physical drive as the original. It is best to specify a mapped network drive (NAS) or an external USB drive as the destination.
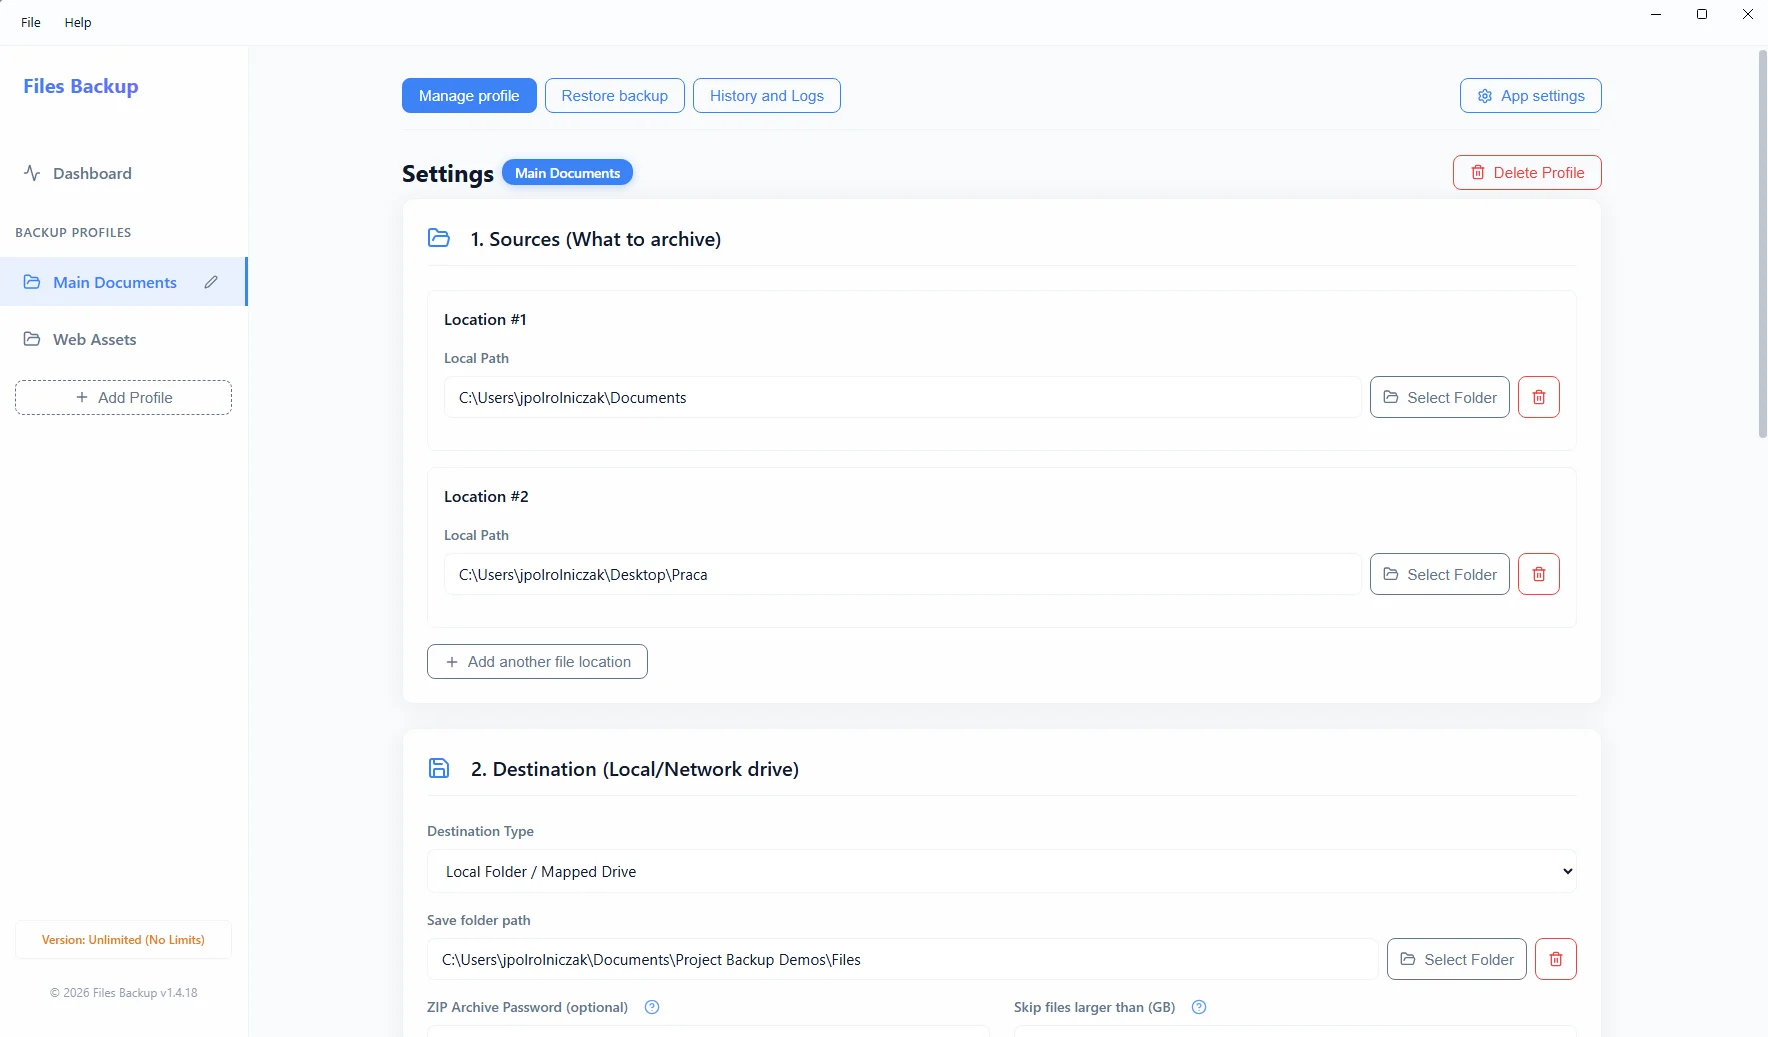
Source and destination configuration
The Files Backup panel allows for very fast addition of source directories.

Step 2: Setting the Retention Policy

Setting up the backup is only half the battle. Equally important is defining the file rotation (retention) policy. By automatically deleting the oldest dumps after, for example, 30 days, you avoid the problem of a full disk. Files Backup software performs this operation non-invasively at the end of the compression process.
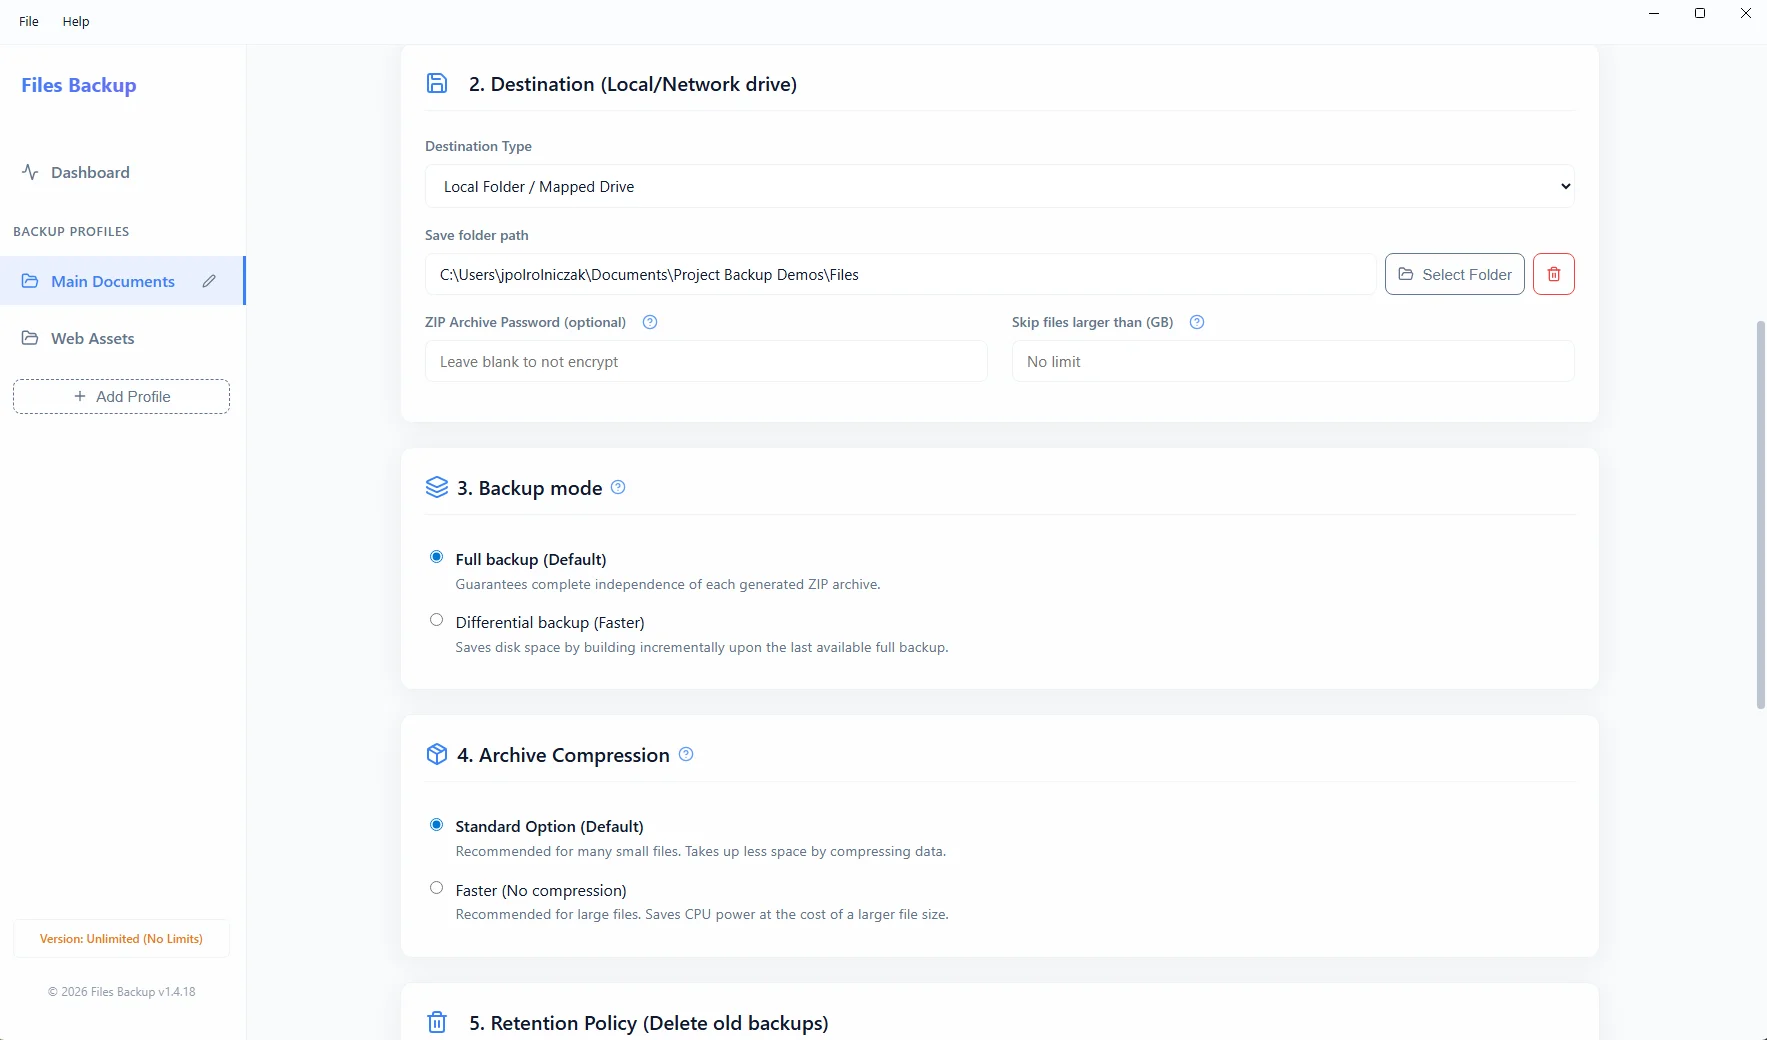
Retention Policy and Delivery
Setting schedule, retention, and email notifications in the profile properties window.

Step 3: Automation (Schedule and startup)

The final step is to ensure that the application will run independently, even after a server or computer restart. The Project Backup application registers securely in the Windows schedule, allowing it to start silently in the background and perform backups even without user login!

About the author

Jakub Półrolniczak – software engineer and data security expert (E-E-A-T). Passionate about Zero-Cloud architecture and reliable solutions for Windows operating systems. Creator of the Project Backup product family.

Logowanie Administratora

Zapomniałeś hasła?

Reset hasła

Podaj swój login. Nowe hasło zostanie wysłane na powiązany adres e-mail.

Wróć do logowania

Potwierdzenie

Czy na pewno chcesz wyczyścić wszystkie statystyki pobrań? Tej operacji nie można cofnąć.

Sukces

Notatka do licencji

How to install the application?

You are downloading a safe installation file directly from the manufacturer. Due to the fact that our application is new, Windows SmartScreen may display a blue warning window.

To complete the installation:

  1. Save and run the downloaded file .exe.
  2. When the blue Microsoft Defender window appears, click "More info".
  3. Then click the button "Run anyway" (or "Keep anyway" in the browser).

Request an Invoice

Fill in the details below to automatically generate an invoice (receipt). It will also be sent to your email address.

Produkt